How can we help?
How to change the DNS?
For Windows 7
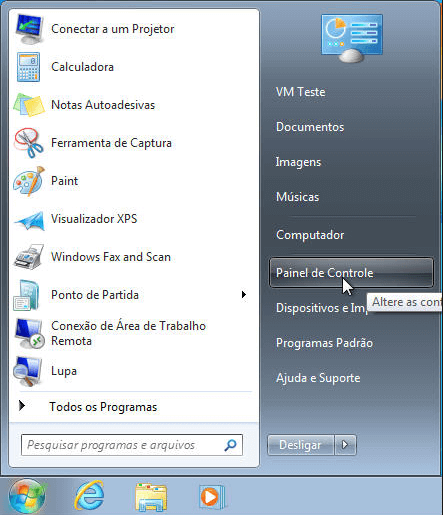
- In the Start menu, click the “Control Panel” option.
- In the Control Panel click on “Networks and Internet” and choose the option “Check State and Network tasks”.

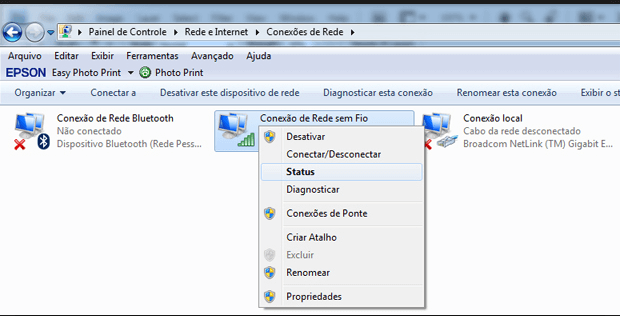
- Click the link next to "Connections" on the right. If you are using a wired connection, the link will be called "Local Area Connection", if you are using a wireless connection, the link will be called "Wireless Network Connection". Click on the "Properties" option.
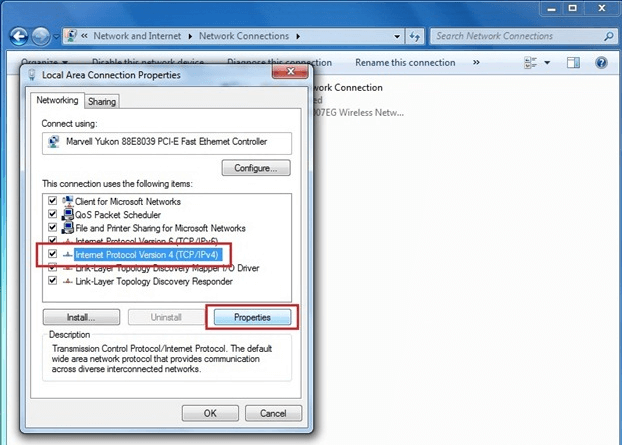
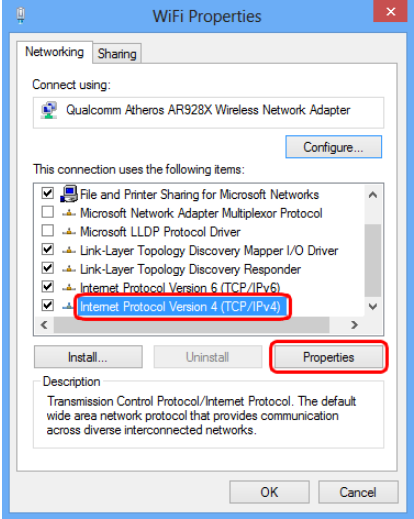
- Select the item Internet Protocol version (TCP / IPv4) and right click on the “Properties” option.
- Select to use the following DNS server addresses and enter:
- Preferred DNS server: 8.8.8.8
- Alternative DNS server 8.8.4.4
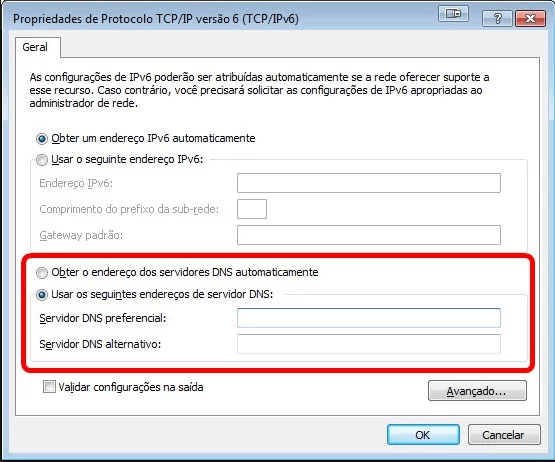
- Finally, click "Ok" on this and the previous screens to save your changes.
Windows 8
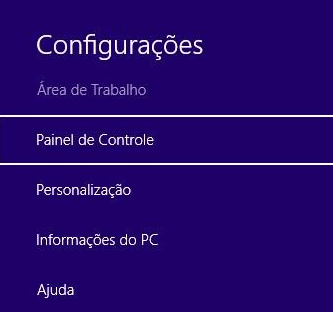
- Enter the "Control Panel".
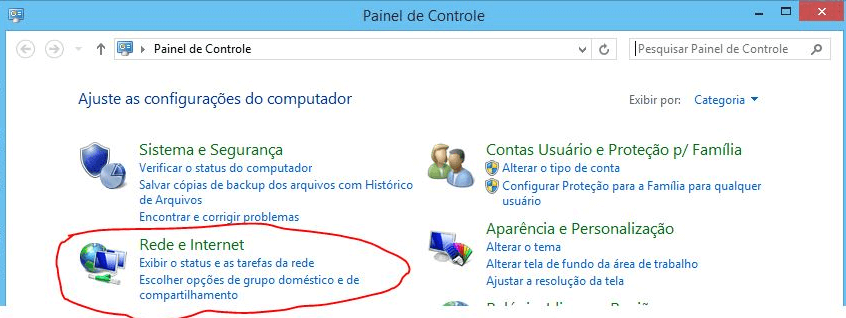
- In the Control Panel select the option “Networks and Internet”, click on “View the status and network tasks”.
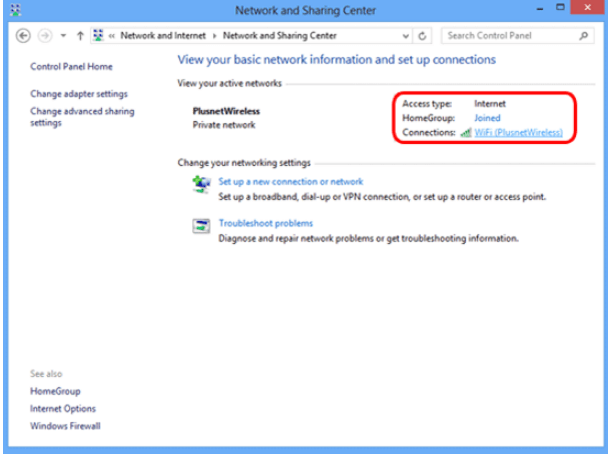
- Click the link next to "Connections" on the right.
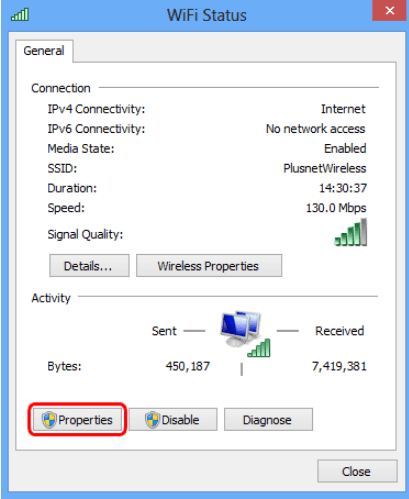
- On this screen, click "Properties".

- Select "Internet Protocol version 4 (TCP / IPv4)" from the list and click "Properties".
- Select the following DNS server addresses and type:
- Preferential DNS server: 8.8.8.8
- Alternative DNS server 8.8.4.4
- Finally, click "Ok" to save all changes.
Mac OS X
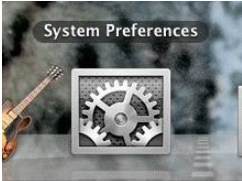
- Go to "System Preferences".
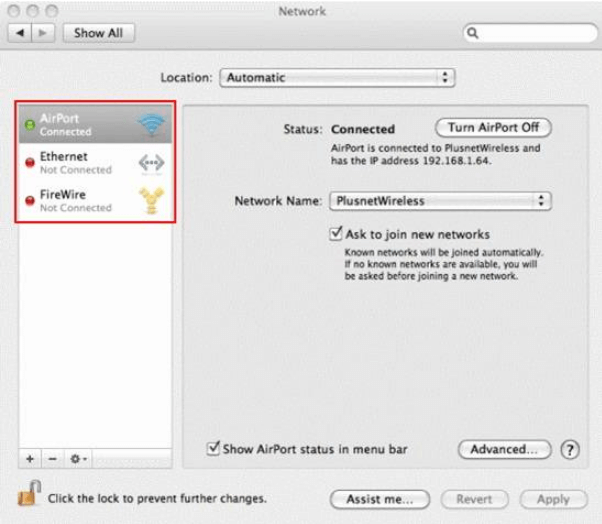
- Click "Network".
.png)
- Click on "DNS Connection" and choose the one you want to change. The connection you are using will be indicated by a green light on the left.
- On the connection properties screen, click the "DNS" tab.
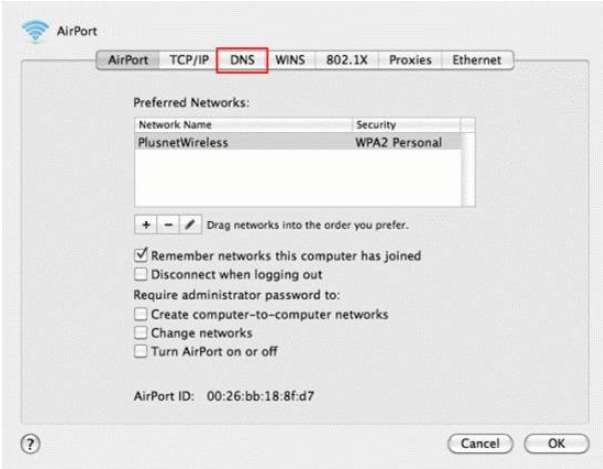
- Use the + or - signs to add or delete the servers of your connection. The servers will be used in the order that they appear in the list.
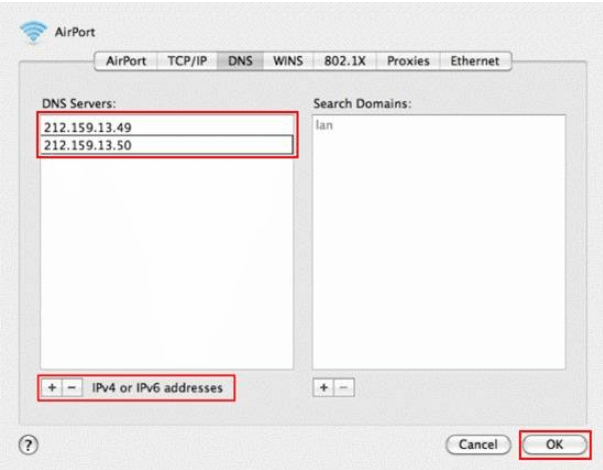
We recommend the following server addresses:
- 8.8.8
- 8.4.4
Finally, click "Ok" to save all changes made and return to the "Connection Properties" screen. Click "Ok" again to finish.
Did you find what you are looking for?